B&Apictures can serve as an effective marketing tool for promoting your clinic. Photos are the first thing people look at when considering an aesthetic treatment, and a great way to show patients the transformation they have undergone. Show off your clinic’s beautiful work by posting B&A images on your website, social media or digital ads. Consider even printing a glossy photo album to impress people in the waiting room.
Avoid posting B&A photos that look fake or inconsistent. A subtle difference in makeup, a piece of jewelry, or a hint of photo manipulation could be construed as false advertising. By carefully replicating all photographic conditions of the before and after sessions, you can capture realistic-looking images that show visible results, and eliminate any doubts of authenticity. Here are some basic guidelines for taking effective and professional-looking B&A pictures that will win your clients over, without even hiring a photographer.

Photography equipment
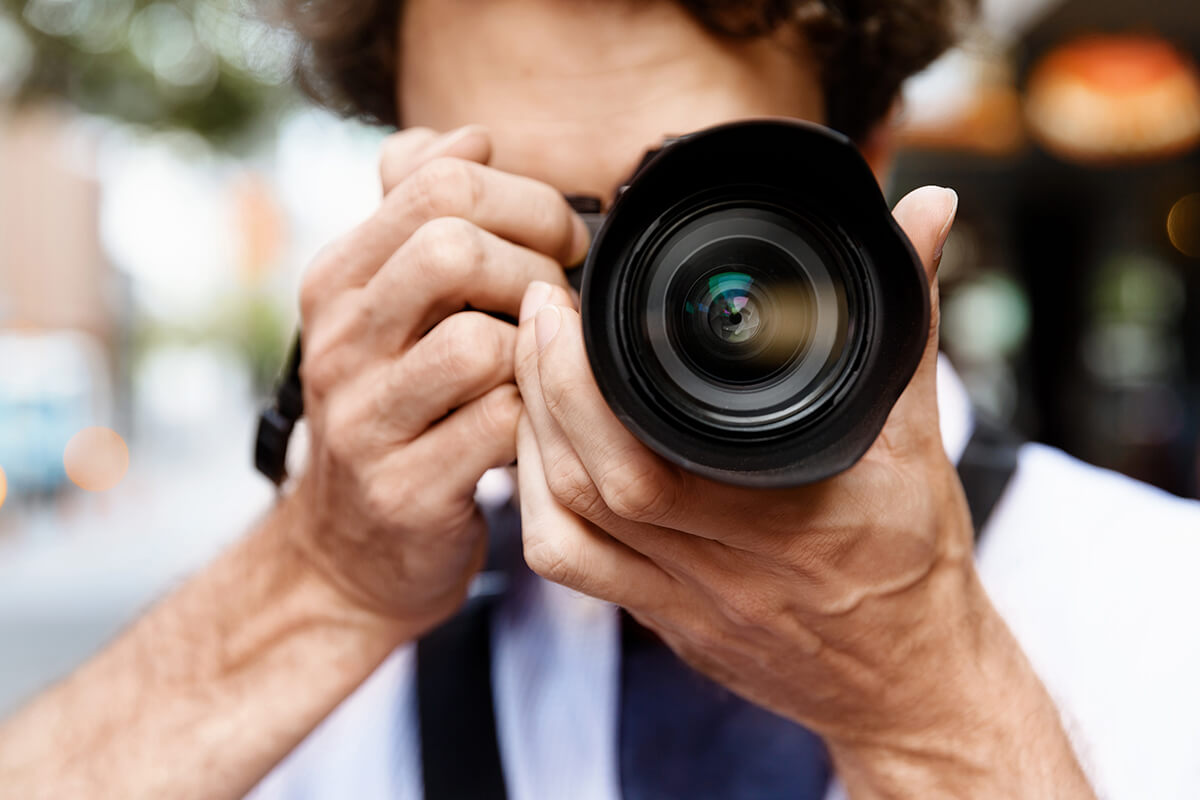
Camera: Use a good digital 105mm lens camera. Use the same zoom level for all photos. Preferably use the Auto mode.
Lighting: For best results avoid using a built-in flash. Keep the light source away from your subject to create softer light and to achieve a clearer photo. For a minimal cost you can purchase basic photography lamps, and an umbrella that is black outside and silver inside. Shoot the light through the umbrella towards the subject. This will create ambient lighting, rather than direct light, for clearer images with softer shadows. It is recommended to use a room with no windows or use black window shades.
Software: For high quality pictures, consider purchasing a dedicated B&A software program. The most advanced systems enable you to easily compare B&A images.
Prepping your subject
Patient’s consent: Have patients sign a consent form to use their B&A pictures.
Facial pictures: Make sure that facial skin is clean and that all makeup, creams and jewelry are removed. Patients should show a neutral expression, with eyes open but without smiling or stretching the skin. Take at least one picture of the entire face. Hair should be pulled back away from the face, and patients should wear a band that covers their hair. Before posting, cover the eyes in the photo.
Body Photographs: Patients should wear the same clothes for each photo session. Comfortable, loose clothing (one colour – no patterns) is best to avoid pressure marks on the skin. Make sure not to cover any part of the treated area. When photographing the groin or bikini area, ensure that the patient is wearing black or dark underwear, or consider buying disposable, non-transparent paper panties. Make sure the position is consistent, feet together, hands in the same location etc….
Getting started
Timing: Take photos before treatment and at designated follow-up periods such as 1, 3 and 6 months after the last treatment.
Location: Choose a designated space in the clinic where all photos will be taken. To the extent possible use the same photographic conditions.
Background: Use the same background for all pictures, either a poster or fabric with no textural effects. Preferable colours are blue, black, dark grey, or any solid colour.
Angles: Take photos from at least 3 angles: Frontal, left profile, and right profile. Ensure that the subject keeps their head perfectly horizontal and does not tilt it. For consistency, choose a baseline photo and take 3 shots of each to get a close as possible match.
Distance: set a backless stool for the patient to sit on and mark a line on the floor at a selected distance from the chair, for example 1 meter, from which you will take all the pictures.
Height: Use a tripod to ensure consistent heights and camera stability and camera angle (make sure it is levelled with the ground).
Quantity: If you’re not sure how many photos to post, a good rule of thumb is that you can never have too many. Too few photos can be a red flag for consumers who might wonder why there aren’t more.
Consistency
Quality assurance: Examine each picture to verify that it is focused and that it was taken in similar conditions to the other photos in the series. Consider lighting, angles, distance, etc.
Labelling photos: Place a card in the background with the date and the patient’s initials. Clearly label each photograph that you save. Establish an easy labelling method for organizing all of the B&A files. Each photo should contain the patient’s initials, date, visit number, and treatment area. (For example: OR 14Jan18 2ND Face). When you post remember to write the treatment number, how long after the photo was taken, lable them before and after and point out the improvement.
Common mistakes
Not the same lighting and distance, different posture of the body or expression of the face.
The right way to take perfect B&A pictures
Same position, same lighting, same background.
Author: Renen Malchi, Global Product Manager
Linkedin

